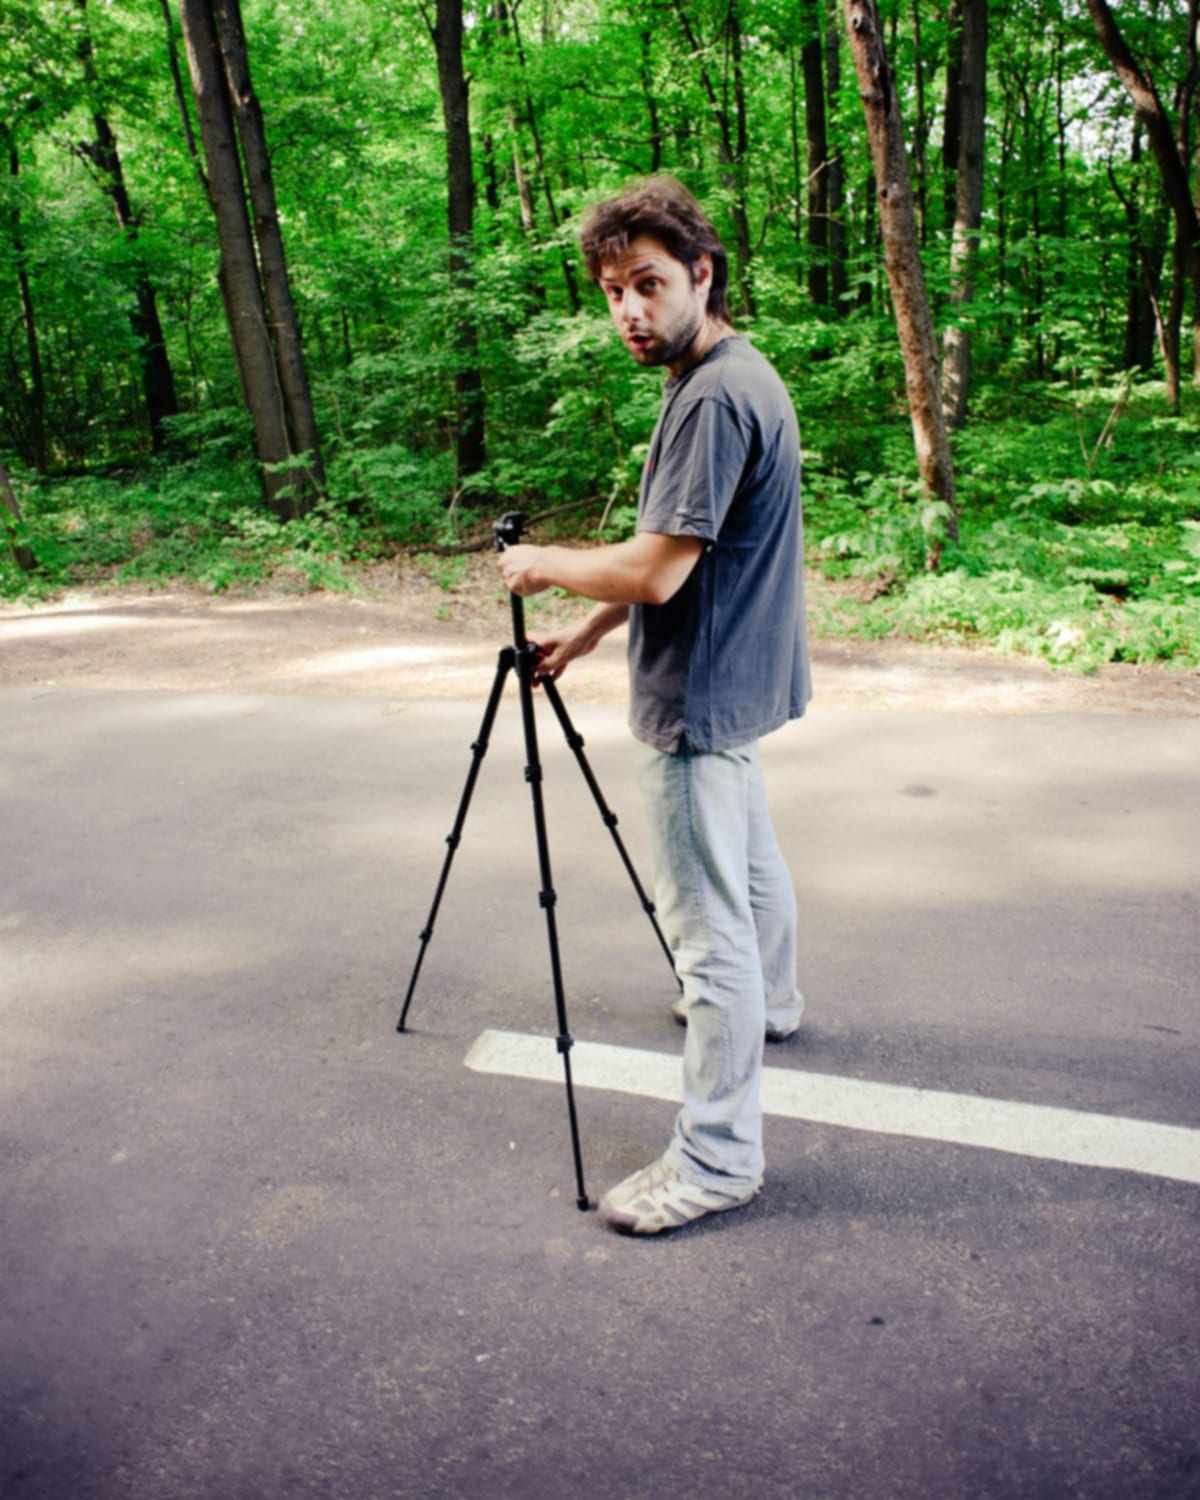
A phone tripod keeps the camera steady, and the main guide to phone tripod photography covers the setup. A remote is the usual way to press the shutter, but it is one more thing to buy, pair and charge. Here are four ways to take tripod photos without a remote, all with gear you may already own.
Can you use the built-in timer?
Yes, and it is the simplest option: in the Camera app, tap Timer, pick 3, 5 or 10 seconds (3 or 10 on older iOS), then tap the shutter button and step into the frame.
The timer costs nothing and needs no pairing. The downside is that each new countdown means walking back to the phone. The guide to using the iPhone self-timer on a tripod gives the steps and tips in full.
Can an Apple Watch work as your remote?
Once the iPhone is on the tripod, open the Camera Remote app on your Apple Watch. The watch shows what the camera sees, so from your spot you can check that your head and feet are both in the frame before you tap the shutter. Apple says the watch needs to be within normal Bluetooth range of the iPhone, about 33 feet (10 meters), which is far more than a full-length shot needs.
By default the shot is taken after a 3-second timer, which you can turn off from the settings icon on the watch, where you can also switch between the front and rear camera. You can zoom with the Digital Crown. The only cost is needing the watch.
Can AirPods take the photo?
On supported models, yes. Pressing the stem on supported AirPods takes a photo in the Camera app. Apple lists which models work and how to set it up, so check its page before relying on this.
If you already wear AirPods, this is a free remote that fits in your ear. Choose the stem setting before you mount the phone, so you are not opening Settings with the iPhone already clamped on the tripod.
Can an app take the photo while the phone sits on the tripod?
The fourth option hands the shutter to the camera app itself. ViaCamera is an iPhone app that takes the photo for you, with no timer, remote or Bluetooth clicker. In AI-FACE mode it fires when your face is in frame and your eyes are open, and in AI-BODY mode it fires when it sees you in frame.
You tap the shutter once to start. It keeps taking photos each time it sees what the mode waits for, until you tap again to stop, so a tripod session becomes a run of photos while you pose. The auto shutter page explains how it works.
How do the options compare?
Each way has a trade-off. This table sets them side by side.
| Method | What you need | What you do | Best for |
|---|---|---|---|
| Camera app timer | Nothing extra | Start it, then walk into the frame | A quick one-off shot |
| Apple Watch | An Apple Watch | Tap the shutter on your wrist | Checking the frame while you pose |
| AirPods | Supported AirPods | Press the stem | Firing from where you stand |
| Auto-shutter app | An iPhone app | Tap once to start, then pose | A longer solo session |
The timer is also the usual choice for group photos, because everyone has time to step in before the countdown ends. For photos of yourself, the other three save you the walk back. The comparison of ViaCamera and the iPhone self-timer goes deeper on that choice.
For help with how far to stand once the shutter is sorted, see the guide to tripod height and distance for full-body photos.
How do you choose a way to take tripod photos without a remote?
Start with what you already own. If you have an Apple Watch, try Camera Remote first, because seeing the frame on your wrist answers the question of whether you are in it. If you wear supported AirPods, set Camera Remote to Press Once or Press and Hold in your AirPods settings, and the stem becomes a shutter that costs nothing.
If you own neither, the timer is the free place to begin, and an auto-shutter app is the next step when the walk back to the phone starts to annoy you. You may end up using two methods: the timer for a quick shot, and something else for a longer session.
What habits help with any of them?
A few habits make every method work better.
- Frame first. Set the height, check the grid and mark your spot before you trigger anything.
- Test once. Fire the shutter, step into place and look at the result, so a problem shows up before the real session, not halfway through it.
- Shoot a series. Change one thing between frames, such as your hands or where you look, and keep the best.
- Keep a backup. The timer is always on your phone, so it covers a dead battery or a failed connection.