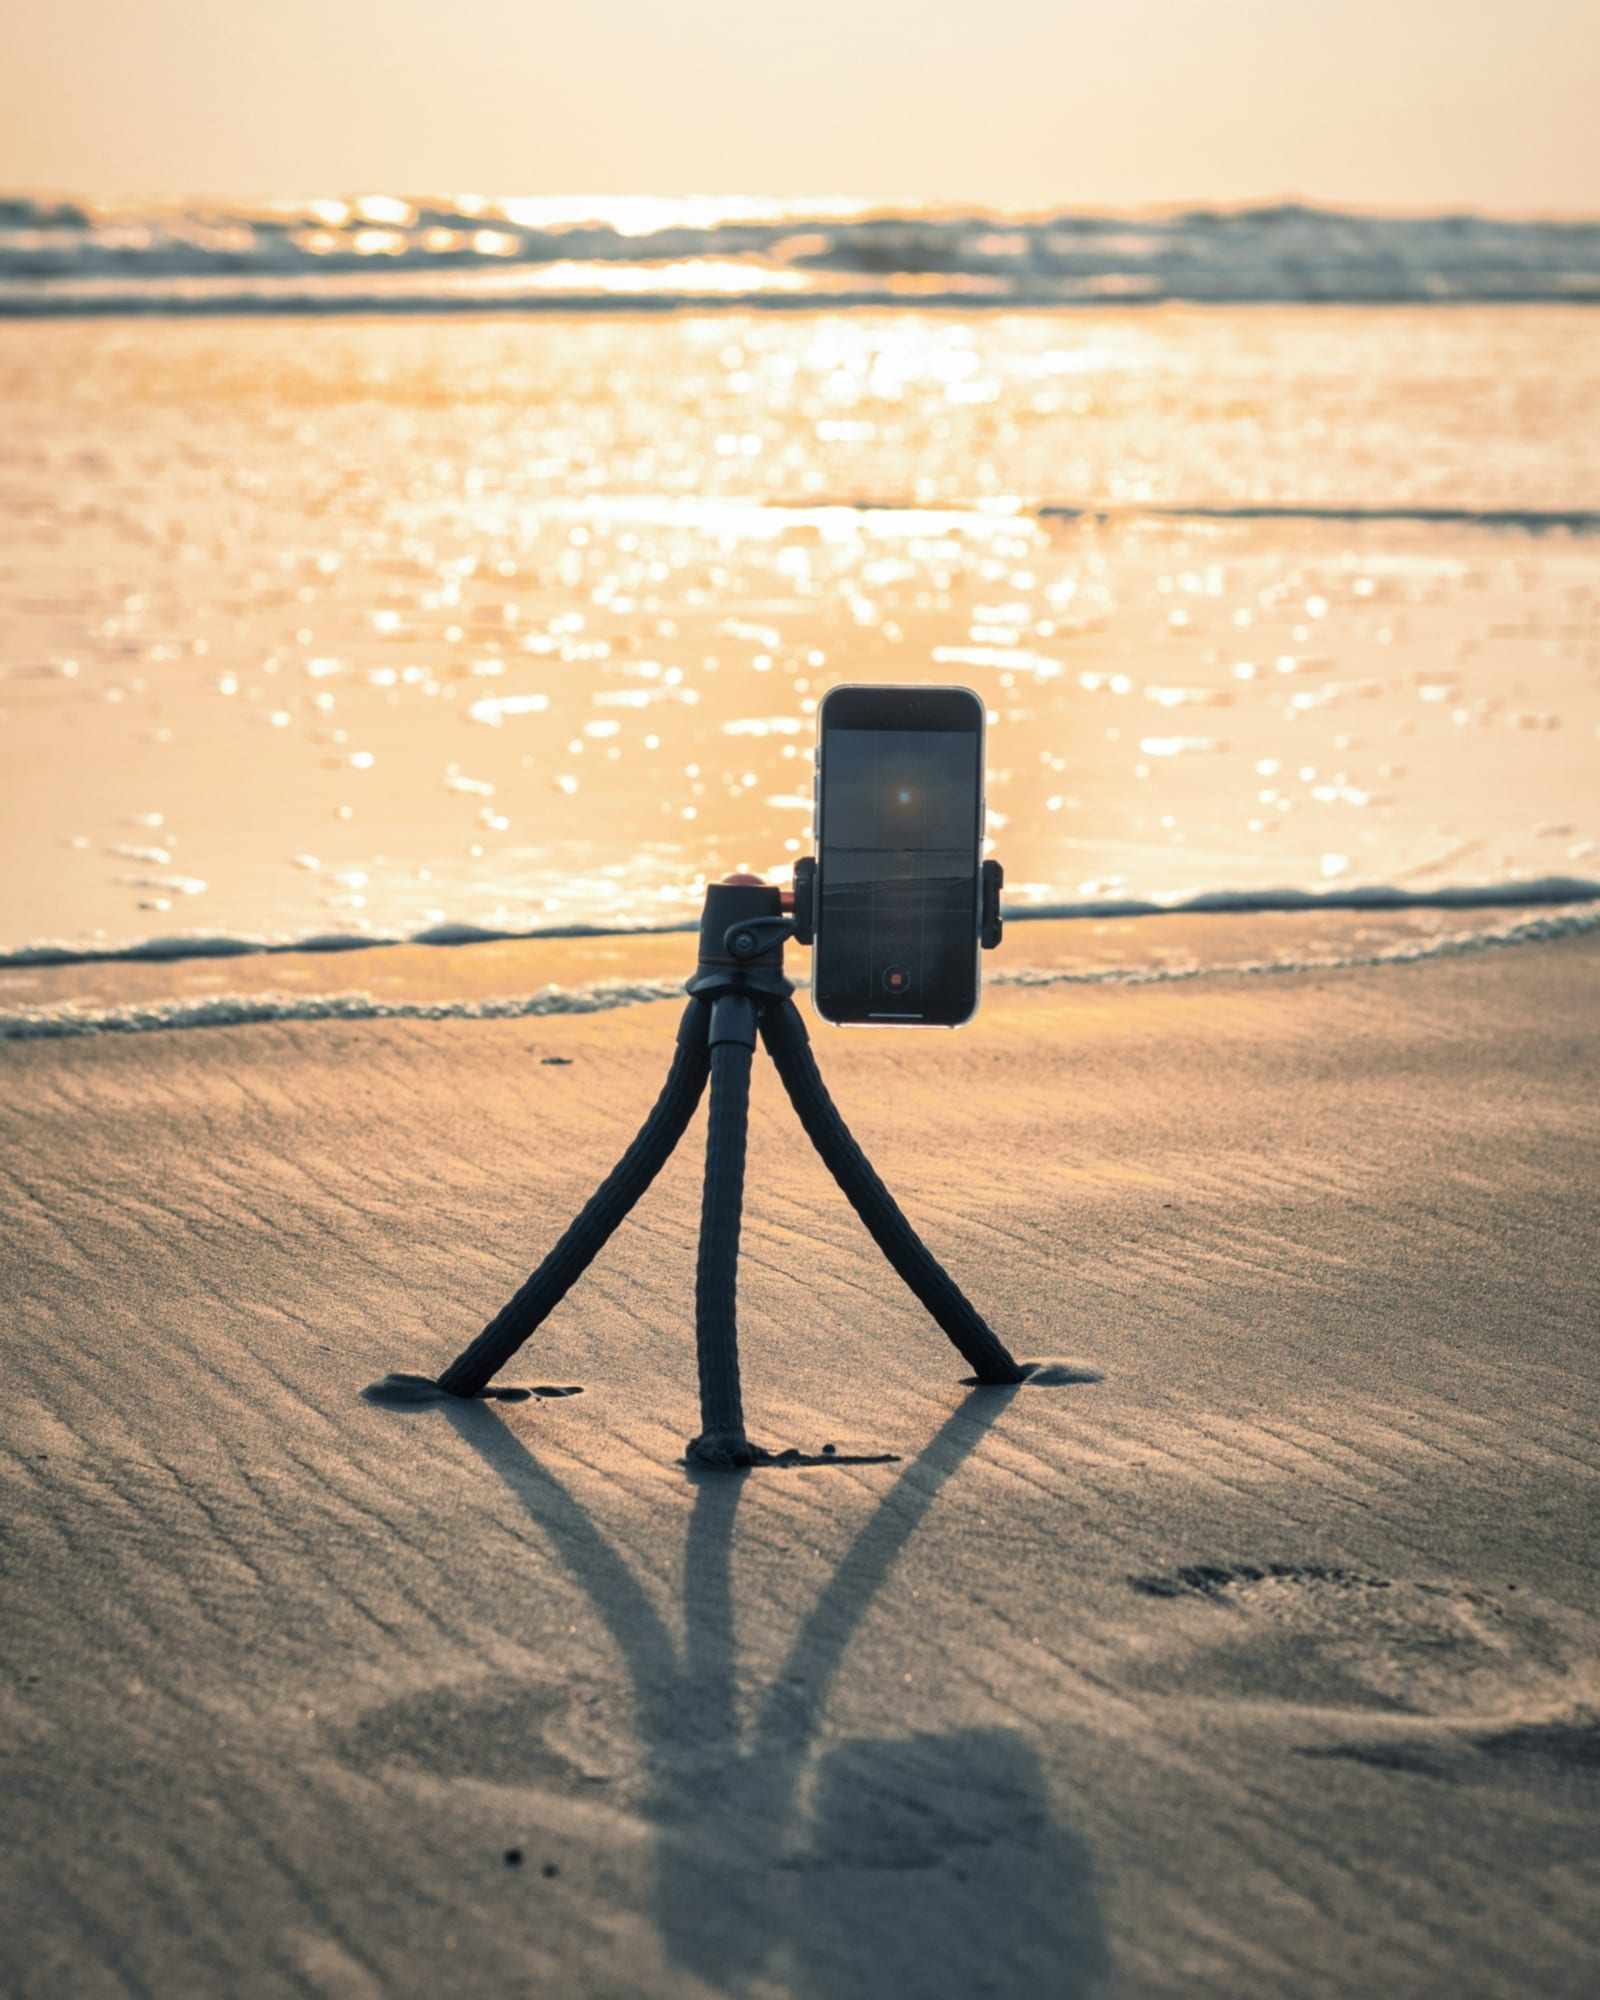
Learning how to take pictures with a phone tripod is mostly learning to trust a steady camera. Once the phone is locked in place, you can frame the shot properly, walk into it and take your time. This guide goes through the tripod, the setup, the framing and the ways to press the shutter when you are not standing next to the phone.
The method works with any phone and any tripod, from a tabletop stand to a full-height model. If you are new to taking photos of yourself, the main guide to taking pictures of yourself covers light, posing and picking favorites too. Where the iPhone’s own tools help, they are named, and Apple’s pages are listed under Sources at the end.
Which phone tripod should you choose?
The right tripod depends on where you shoot and how tall you need the camera to be. There are three common kinds.
- Full-height tripods. These extend to about eye level or higher, so they suit portraits and full-length photos of yourself. They are the most flexible, and also the bulkiest.
- Tabletop tripods. These stand on a table, shelf or the ground and are easy to carry. They are fine for close portraits, but they limit how high and how far back the camera can sit.
- Flexible tripods. The legs bend and wrap around a railing, branch or post. They hold light phones well, but check that they do not sag once the phone is mounted.
What to look for
Look at the base first. Wide, locking legs are steadier than short, thin ones, and a rubber foot grips smooth floors better than bare plastic. Then look at the clamp: it should open wide enough for your iPhone with its case on, and it should grip with firm, even pressure.
A tripod that reaches about your eye level when extended covers both portraits and full-length photos. A shorter one is fine if you mostly shoot full-length, since those need the lens only at about chest or waist height. Weight helps stability, but a heavy tripod is also one you will leave at home.
How do you set a tripod up so it stays steady?
Most blurry or crooked tripod photos start with the setup, not the phone. Take a minute to do it in this order.
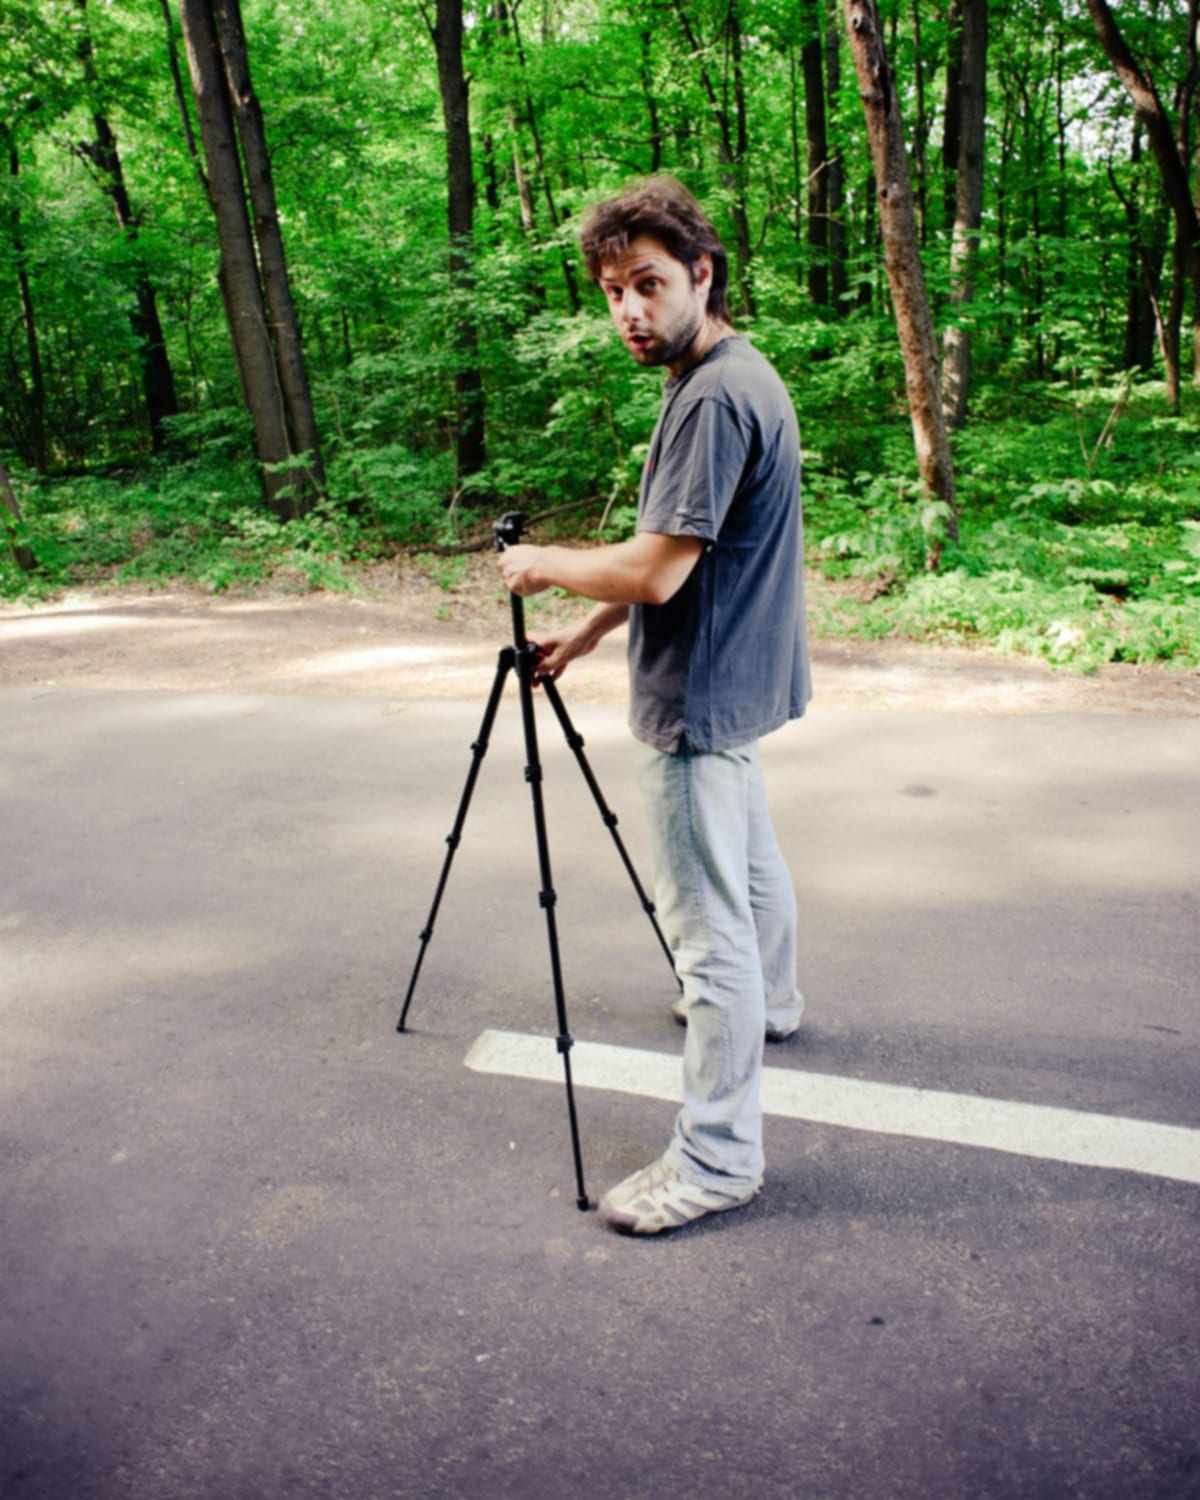
- Find level ground. Check that all three feet rest firmly and that the tripod does not rock. If one foot hangs in the air, shorten that leg.
- Open the legs fully. Spread them until the stops lock. A narrow stance tips easily.
- Extend the thick sections first. The upper leg sections are the sturdiest, so use them before the thin ones at the bottom.
- Raise the center column last. It is the wobbliest part, so keep it low if you can.
- Lock everything. Close every clamp and tighten every knob before the phone goes on.
Give the tripod a gentle tap with your finger. If it wobbles for more than a moment, lower it or spread the legs wider.
How do you mount your iPhone on the tripod?
Open the clamp, place the phone in the middle of the holder and let the clamp close until it grips. A phone clamped off-center grips less evenly, so it can tilt in the holder or slip out. Check that the clamp does not press any of the side buttons.
Decide on portrait or landscape before you tighten. Portrait suits full-length photos and most portraits, and landscape suits a scene where the place matters as much as you. Many holders rotate, but rotating after you have framed the shot changes the framing, so settle it first.
Cases can get in the way. A thick case may not fit the clamp, and a case with a raised lip can stop the jaws from closing evenly. If the clamp cannot grip the phone firmly with the case on, take the case off for the session. Wipe the lens with a soft cloth before you start, since a smudge softens every frame.
What height and angle should the phone be?
Height changes how you look, and it is easy to overlook. Put the lens at about eye level or slightly above for head-and-shoulders photos. A camera that points up at you from below stresses the chin and nostrils, and a camera that points steeply down makes the head look large.
For full-length photos, set the lens at about your chest or waist, roughly 0.9 to 1.2 m (3 to 4 ft) for most people. Keep the phone level so the walls and doors stay straight. If you cannot fit everything in, step back from the tripod rather than tilting the phone.
If you want help working out how far to stand for a full-length frame, the guide on tripod height and distance for full-body photos has rules of thumb for the 1x and 0.5x lenses.
How do you frame the shot?
Frame the shot with the phone already on the tripod, and look at the screen from where you will stand if you can. Open the Settings app, tap Camera, and turn on Grid and Level. A tripod locks in whatever angle you set, so the lines make a tilted horizon or a leaning wall easy to spot before you start.
Leave a little room above your head and below your feet in a full-length photo. Cutting off the top of the head or the tips of the shoes looks like a mistake. Vertical frames suit most photos of a person, while horizontal frames suit a landscape with you in it.
Pick one spot and mark it. A strip of tape or a small stone on the ground tells you where to stand each time. With the back camera the screen faces away from you, so take a test frame, walk back to check it and adjust before the real shots.
How do you fire the shutter from a distance?
Once the phone is fixed in place, something else has to press the button. These are the common options, from the one already on your iPhone to an app that does it for you.
The Camera app’s timer
Open the Camera app, tap the Camera Controls button or swipe up from the camera modes, then tap Timer and pick 3, 5 or 10 seconds. Older versions of iOS offer 3 or 10. Tap the shutter button to start the countdown and step into the frame.
It is free and already on your phone. The catch is the rush, and that each new countdown means walking back to the phone. There is a full walkthrough in the guide to using the iPhone self-timer on a tripod.
A Bluetooth remote
A Bluetooth clicker pairs with your iPhone once and then fires the shutter from your hand or pocket. Look for one described as working with iPhone and the Camera app. It gives you a button to press at the exact moment, at the cost of one more device to pair and keep charged.
Your Apple Watch
The Camera Remote app on an Apple Watch shows what the iPhone camera sees and has a shutter button. Apple says to keep the watch within normal Bluetooth range of the iPhone, about 33 feet (10 meters). You can zoom with the Digital Crown, and by default the shot is taken after a 3-second timer that you can turn off from the settings icon on the watch.
AirPods on supported models
On supported AirPods, pressing the stem takes a photo in the Camera app. Check Apple’s AirPods page for the models that work and how to turn the feature on. If you already wear them, it is a free remote with no pairing step.
An app that presses the shutter for you
ViaCamera is an iPhone app that takes the photo for you, with no timer, remote or Bluetooth clicker. In AI-FACE mode it fires when your face is in frame and your eyes are open, and in AI-BODY mode it fires when it sees you in frame. Both work with the front or the back camera, and the photos are real photos from your iPhone camera, not AI-generated images.
You tap the shutter once to start. ViaCamera then keeps taking photos each time it sees what the mode waits for, until you tap again to stop. With the phone fixed on the tripod, every frame has the same framing, so you can change your stance between photos and compare the run afterward. The auto shutter page explains it in more detail, and the AI modes page compares the two modes.
If you are choosing between methods without a remote, the guide to tripod photos without a remote lays them side by side. For a broader walkthrough of light, posing and review, see the guide to taking pictures of yourself.
How do you shoot a series and check it?
Do not judge the session by the first frame. Take a run of photos, change one thing between them, such as your head angle, your hands or where you look, and keep going. The best frames tend to come after the first few tests.
Check a sample on the phone before you pack up. Zoom in on your eyes, your hands and the edges of the frame. If the whole set is slightly tilted or cut off, adjust the tripod and shoot it again while the setup is still in place.
Later, open the frames one at a time and compare them against each other. Keep the few where your eyes and the background both work, and note the height and spot that gave you the best result.
What should you do outdoors?
Outdoors, the tripod has to cope with wind, uneven ground and other people. Take a few extra precautions.
- Wind. Keep the center column low, spread the legs wide and hang a bag from the hook under the column if the tripod has one.
- Uneven ground. Shorten the leg on the high side until the tripod stands level, and avoid loose gravel, wet grass and sand that shifts.
- Crowds. Do not leave the phone unattended where people walk by or where it could be taken. Choose a quiet spot, and keep it where you can see it.
- Water and edges. Stay away from the edge of a drop or open water, where a gust or a knock could send the tripod over.

What gear do you need to take pictures with a phone tripod?
You need very little. Here is the short version, from essential to nice to have.
- Essential: a tripod with a firm base, a clamp that fits your iPhone, and a clean lens.
- Very useful: a way to fire the shutter from your spot, whether that is the Camera app’s timer, an Apple Watch, supported AirPods or an auto-shutter app.
- Helpful: a bag or weight for the tripod’s hook, tape to mark your spot, and a soft cloth for the lens.
- Nice to have: a Bluetooth remote, a small light for evenings, and a spare clamp or case-free mount.
What are the most common mistakes?
A tripod removes camera shake, but a few setup slips still spoil the frames.
- Uneven or soft ground. A tripod that settles or tilts gives you crooked frames. Level it before you mount the phone.
- A phone clamped off-center. The tripod leans and the phone can slip. Center it and tighten the clamp.
- A camera that is too low or tilted. Pointing up or down distorts proportions. Keep the phone level and adjust the height.
- Not checking the frame. Walk into position and look back at the screen, or take a test frame, before the real shots.
- Leaving after one photo. One frame is a test. Shoot a series, then check it.
Run through the setup a few times and it soon becomes routine. The guides section has more on light, posing and framing.