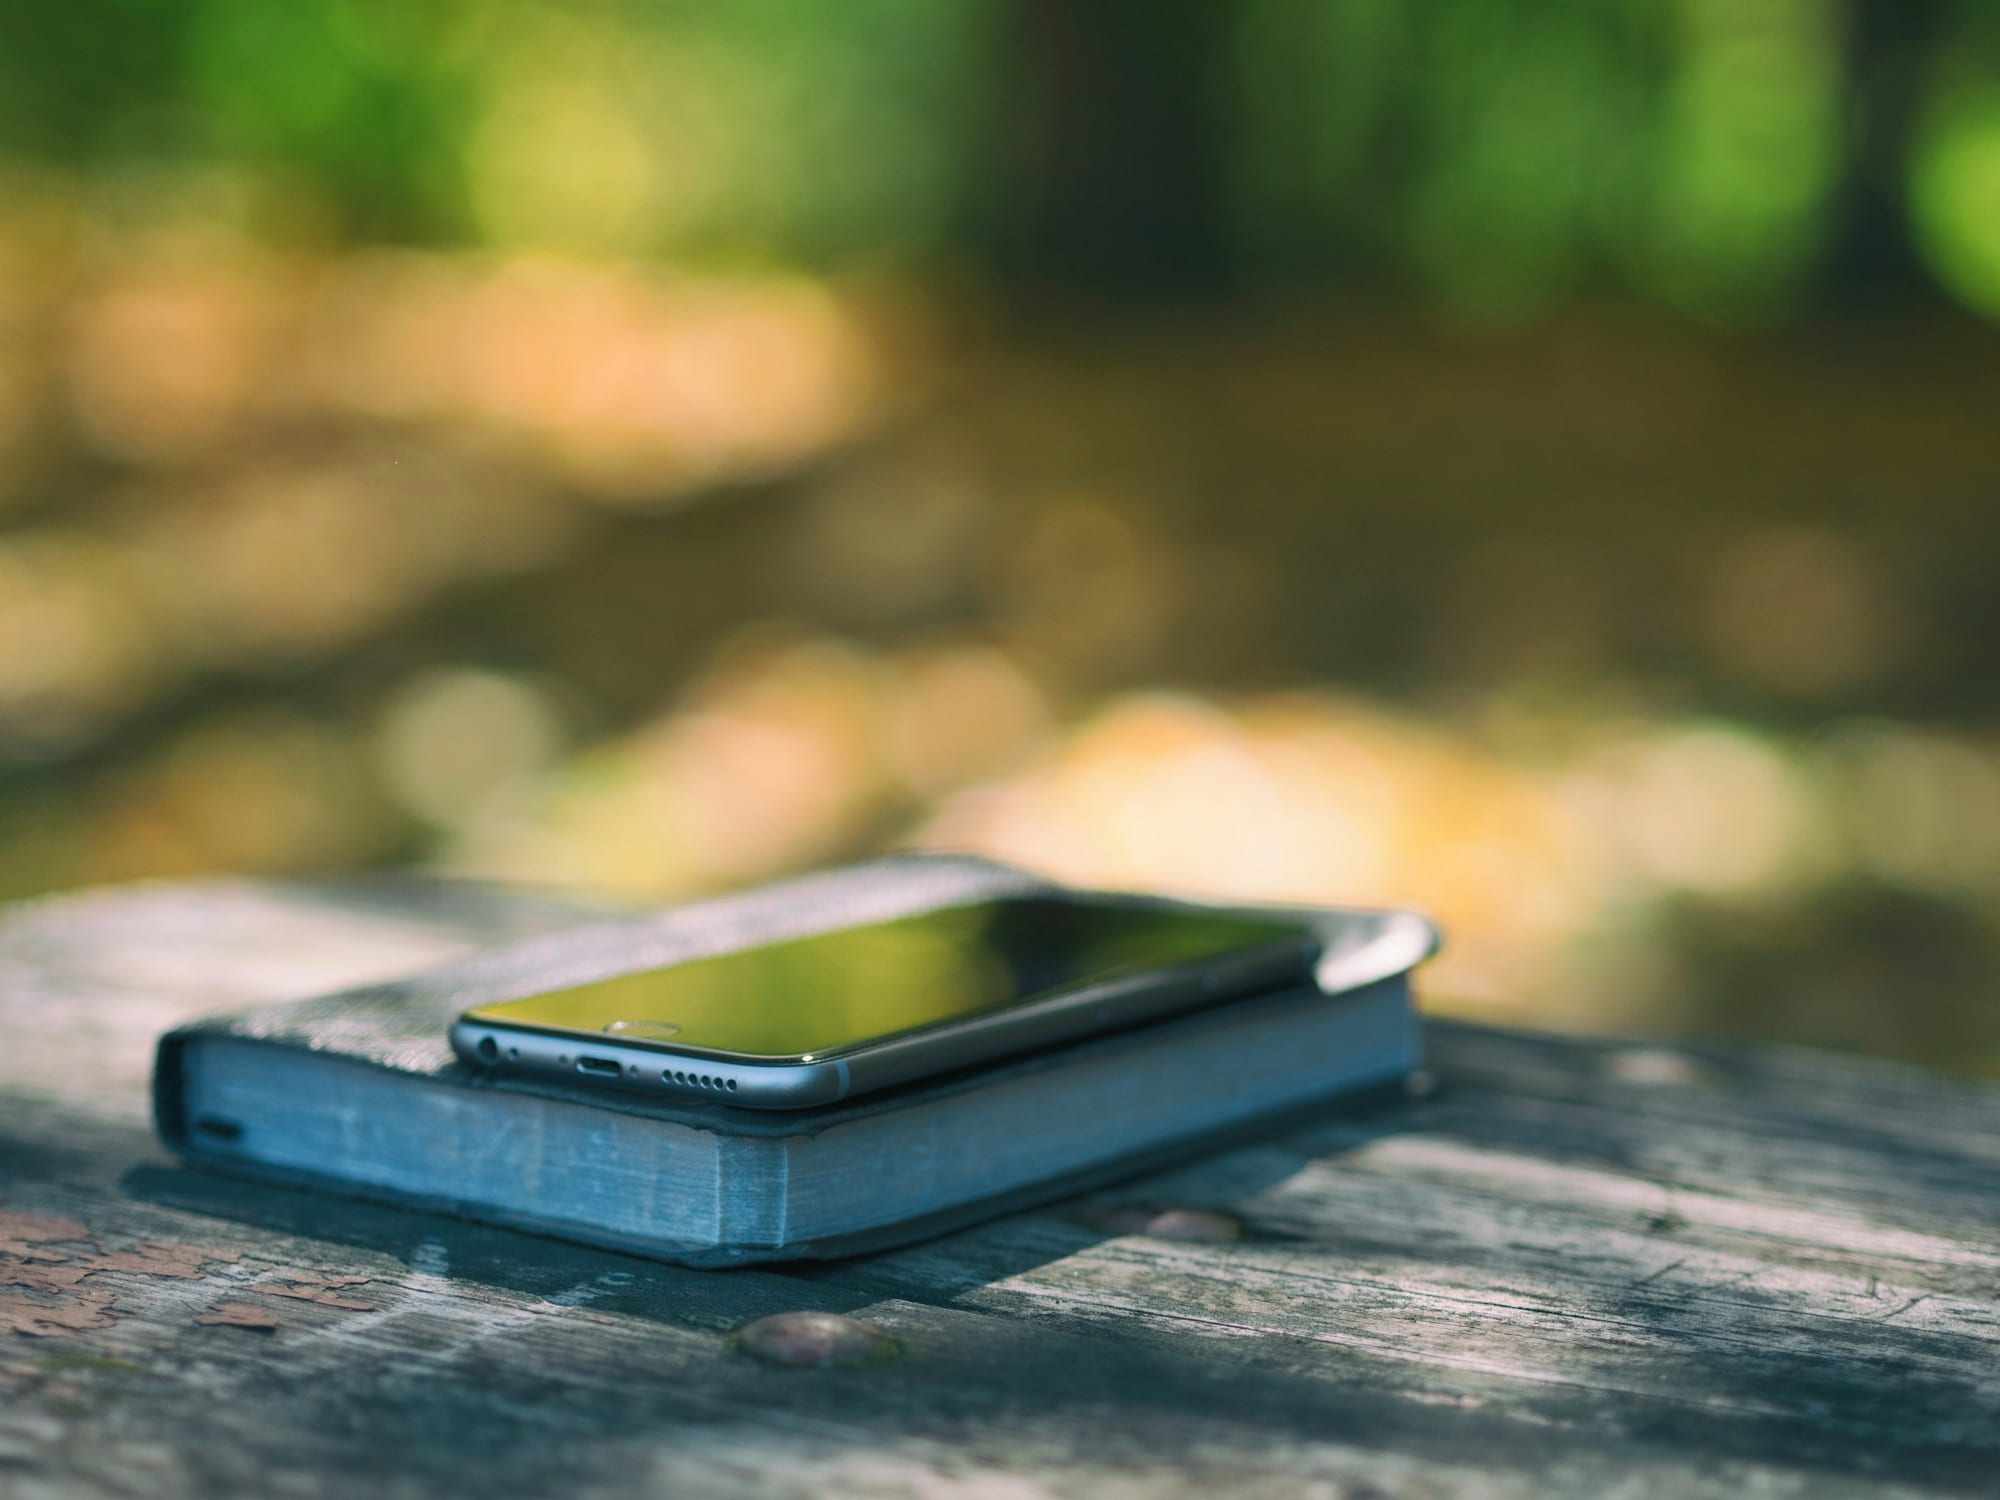
A tripod is the best way to hold a phone still, and the main guide to phone tripod photography covers it. But plenty of good photos start with a stack of books. This page shows the phone stand alternatives you already own, how to keep the phone safe and how to get the angle right.
What can you prop your phone on at home?
Most rooms have something that works. Look for a surface that is flat, solid and about the right height.
- Books. A stack of hardbacks raises the phone, and a heavier book in front keeps it from sliding. Lean the phone back against a few more.
- A shelf. Slide the phone to a spot where it rests against the back of the shelf or a vertical book.
- A mug and a hair tie. Put a hair tie around a mug and slip the phone’s corner into it. The mug gives weight and the tie gives grip.
- A shoe. A sturdy shoe cradles the lower edge of the phone and tilts it back a little.
- A window ledge. It is a good place for a low, steady phone, if it is wide and flat.
What can you use outdoors?
Outdoors, look for solid, low, wide things. A bench, a low wall, a flat rock or a bag with something heavy inside all work.
A bag is the most flexible, because you can shape it into a slope. Press the phone into a soft bag so it settles, and check that the lens clears the fabric. Stay away from anything that could roll, shift in the wind or sit on loose gravel.
Keep the phone where you can see it. Do not leave it unattended in a crowd or near a path where people walk by.
How do you keep it from falling?
A fall is the real risk of propping, so take a minute to make the setup safe.
- Stay low. A short fall damages a phone less than a long one. Put it on a low surface, not the top of a shelf.
- Stay away from edges. Leave a hand’s width of surface behind the phone and keep it clear of the front edge.
- Add grip. A rubber band, a hair tie or a folded cloth under the bottom edge stops slipping.
- Avoid risky spots. Never prop a phone over water, a drop or a hard stone floor.
- Skip rolling or tipping supports. A bottle on its side, loose papers, a pile of clothes, a chair back or a narrow railing can all shift under the phone.
- Test it. Tap the surface and walk past it. If the phone moves, find a better spot.
How do you get the angle right with what you have?
You cannot extend a book stack, so change the height by adding or removing items. Aim for the phone to be about eye level for head-and-shoulders photos, or waist to chest height for full-length photos, roughly 0.9 to 1.2 m (3 to 4 ft).
Keep the phone level if you can. If the phone tilts up or down, small shims fix it: a coin or a folded piece of paper under one edge. Check the framing on the screen, then take a test photo and adjust. The guide to tripod height and distance for full-body photos has rules of thumb for how far to stand.
How do you handle portrait and landscape?
Decide the orientation before you prop, because turning the phone changes how it rests. A phone propped upright in portrait stands on its short edge, which is narrower and tips more easily. Landscape rests on the long edge and is steadier, so it suits a book stack or a shelf.
For a portrait frame, stand the phone on a flat surface and lean it back against something taller than the phone, such as an upright book. Check that no case lip or gap lets the phone slide forward. Then frame the shot, mark your spot and take a test photo.
How do you fire the shutter once it is propped?
Once the phone is propped, you still need a way to press the shutter from where you stand. The Camera app’s timer is the easy start, and the guide to tripod photos without a remote lists the other options. The Camera Remote app on an Apple Watch works within about 33 feet (10 meters) of the phone.
ViaCamera is an iPhone app that takes the photo for you. In AI-FACE mode it fires when your face is in frame and your eyes are open, and in AI-BODY mode it fires when it sees you in frame. Tap the shutter gently to start, since a propped phone shifts more easily than one in a clamp. It then keeps taking photos each time it sees what the mode waits for, until you tap again to stop, so you are not reaching for a balanced phone between shots.
For the timer step by step, the guide to the iPhone self-timer on a tripod explains it, and the steps are the same on a propped phone.